

Pour mon Momo, rien n'est trop beau !
Ou l'art de mélanger les technologies 3D et le travail manuel.
12/22/20243 min temps de lecture
Premières étapes. Tout commence avec la création. Quelques dessins/croquis. Puis très vite la modélisation 3D. Prise de mesures sur les volants, prototypes et les premieres pièces finalisées peuvent enfin sortir.
The first steps. It all starts with creation. A few drawings and sketches. Then 3D modelling. Measurements are taken on the steering wheels, prototypes are made and the first finished pieces are finally ready for production.
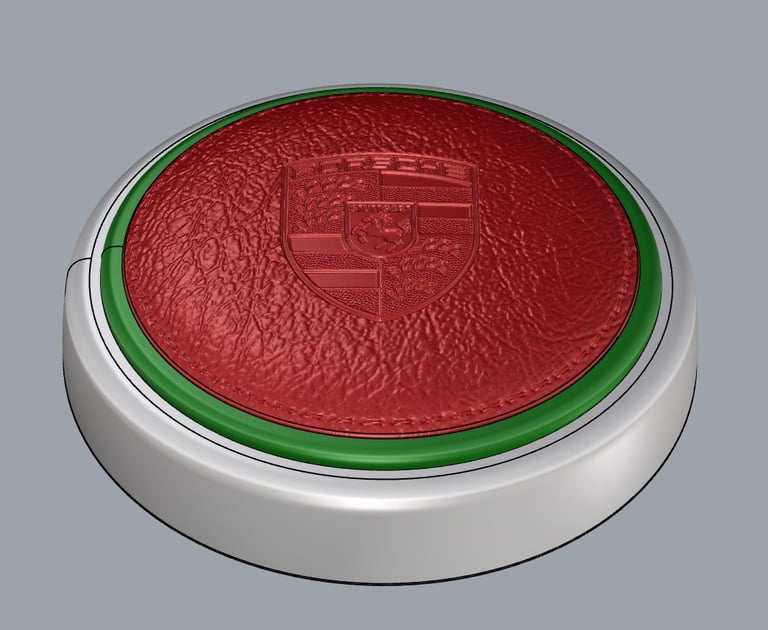
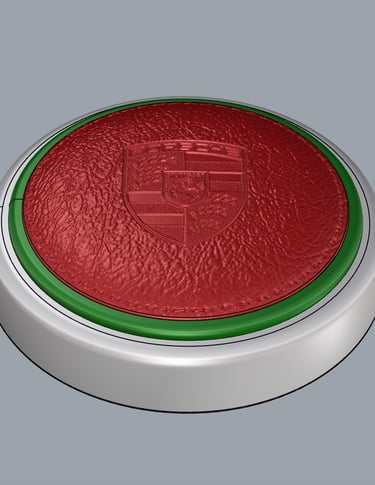
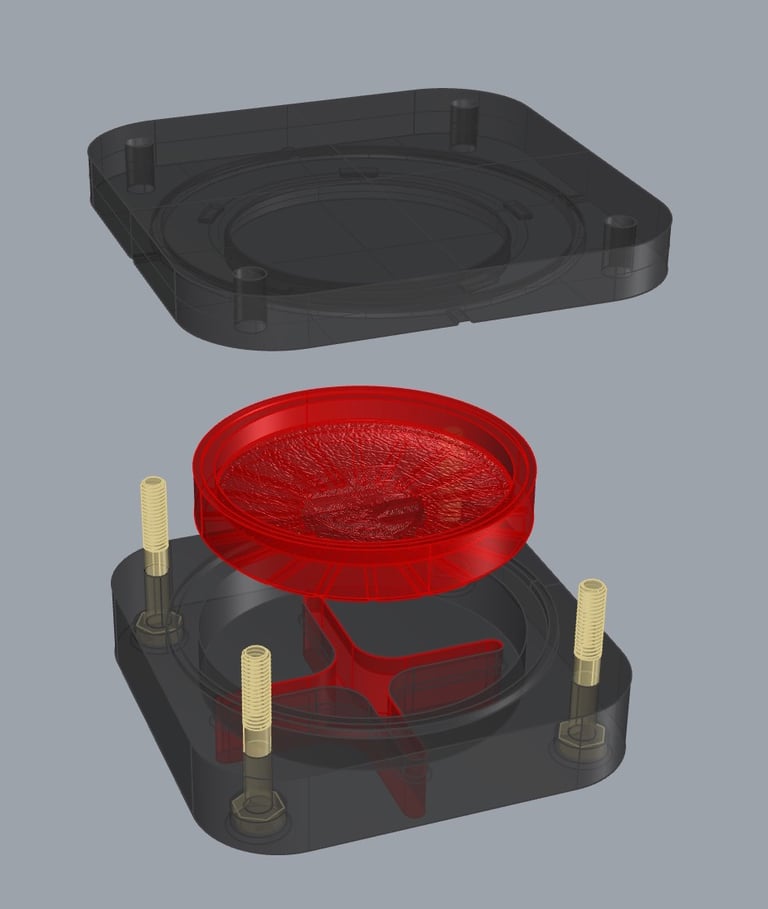
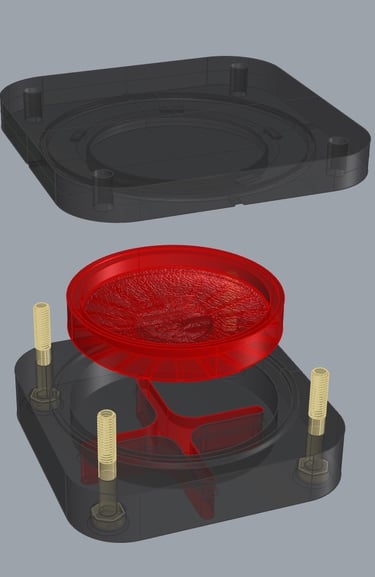
Un des plus gros challenge a été la réalisation du top du bouton en silicone. Pour une sensation parfaite sous les doigts, rien de mieux qu'un touché doux. Là encore l'impression 3D m'a permis de faire un moule en haute définition (impression résine) avec une texture faux cuir et un logo très détaillé. Des dizaines de test avant d'arriver au résultat parfait.
One of the biggest challenges was making the top of the button in silicone. For a perfect feel under the fingers, there's nothing better than a soft touch. Here again, 3D printing enabled me to make a high-definition mold (resin printing) with a leather like texture and a highly detailed logo. A lot of tests before arriving at the perfect result.


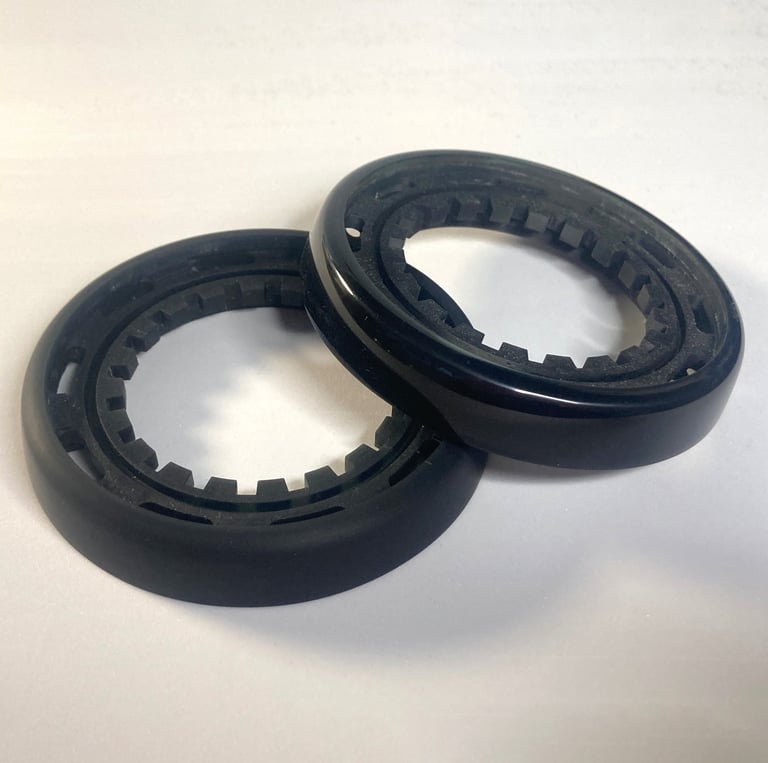
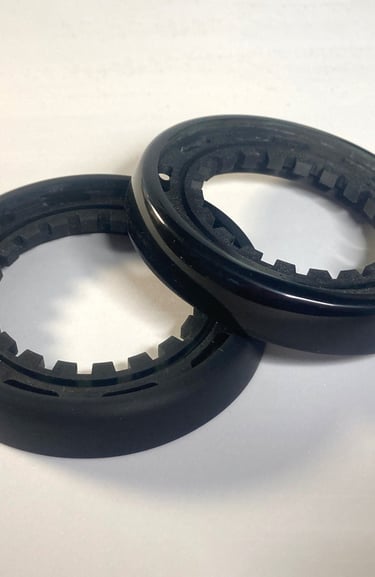
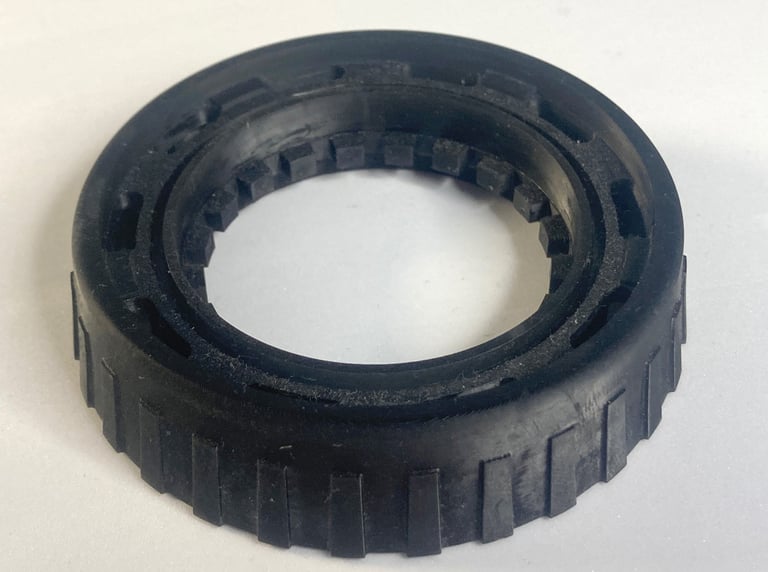
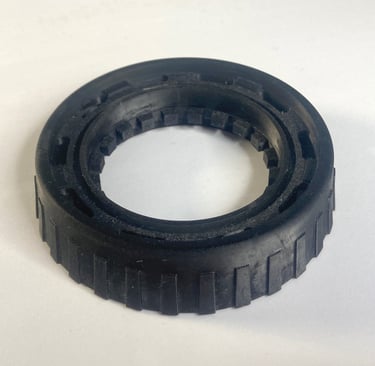
Et viens le moment de la production. Les bases sont imprimées en résine noire. Une résine qui une fois polie à la main permet d'avoir une couleur brillante et profonde. Avec un effet proche de la Bakélite. Pour la version "type F", la finition se fait avec quelques couches de peinture noir satin. Je vous passe les étapes de ponçage.
Then it's time for production. The bottom bases are printed in black resin. A resin that, once polished by hand, produces a deep, brilliant colour. With an effect like to Bakelite. For the ‘type F’ version, the finish is achieved with a few coats of satin black paint. I'll skip the sanding.
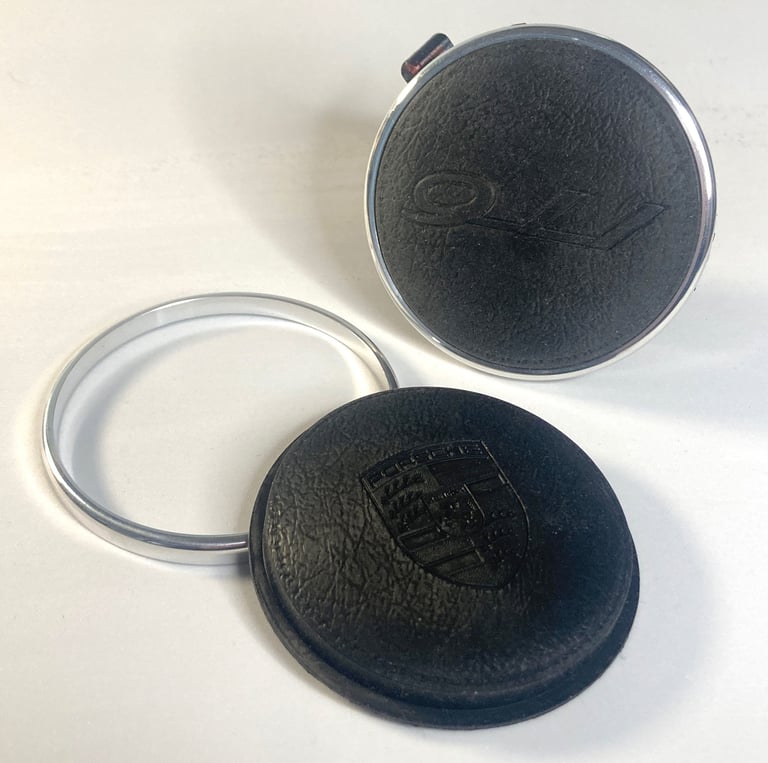
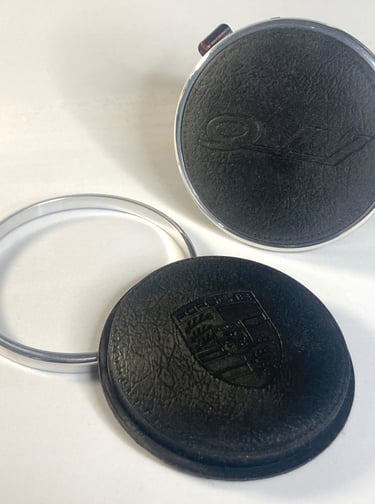


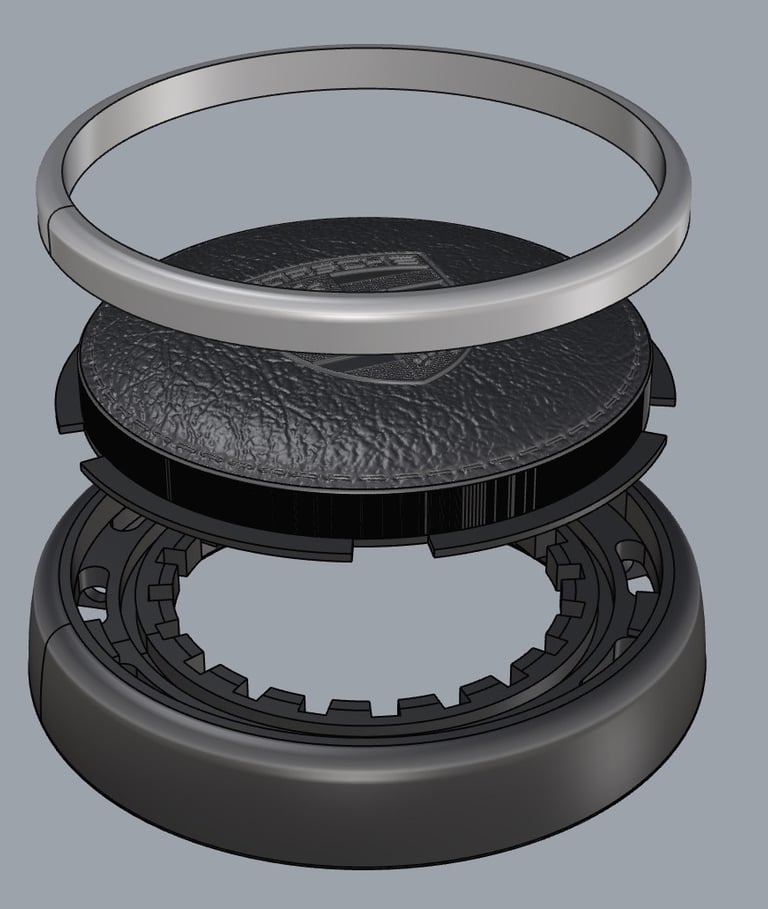
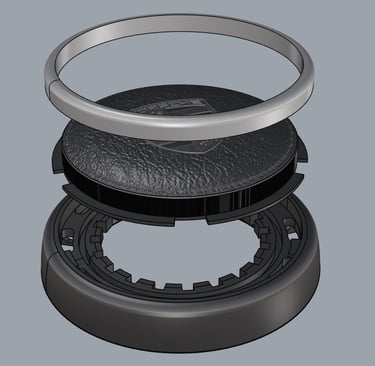
Vient le temps de l'anneau en aluminium poli et du top en silicone. Vous noterez que le top peut aussi être personnalisé puisque issu d'un moule. Il suffit de faire une nouvelle empreinte.
Now it's time for the polished aluminium ring and the silicone top. Note that the top can also be customised, as it comes from a mould. All you have to do is make a new impression.


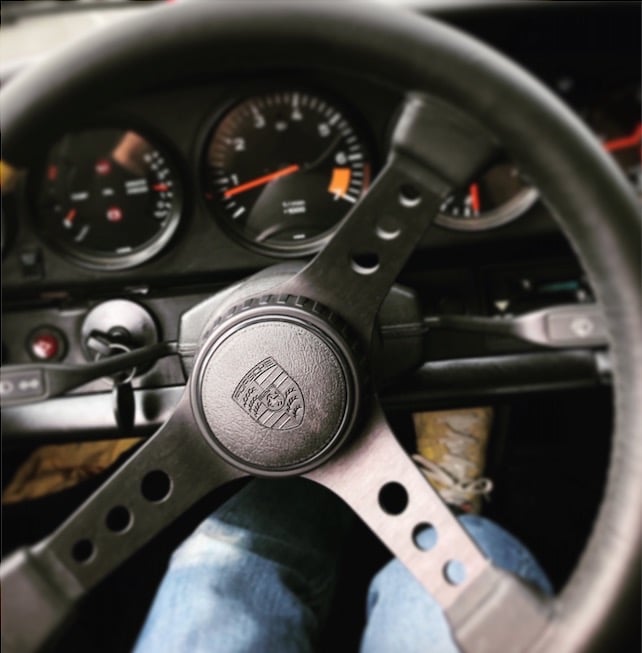
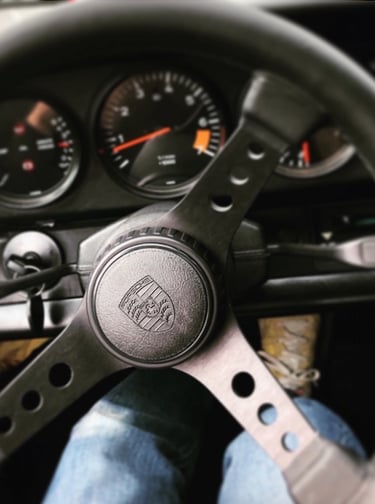
Enfin l'assemblage. Intégration du "vrai" bouton Momo pour un montage plug'n play. Plus qu'à lui faire rencontrer son volant ;)
And the final assembly. Integration of the ‘real’ Momo button for plug'n play assembly. All that's left is to make it meet its steering wheel ;)
© 2024 - Création et réalisation du site : 3D Classic - Réalisation de la boutique : 3D Classic